Google Workspace
How to configure SSO with Google Workspace?
To set up your Qase account with SSO/SAML and Google Workspace, you'll need to take the following steps:
1. Sign in to the Admin Console of your Google Workspace account. You'll need to be a G Suite account administrator
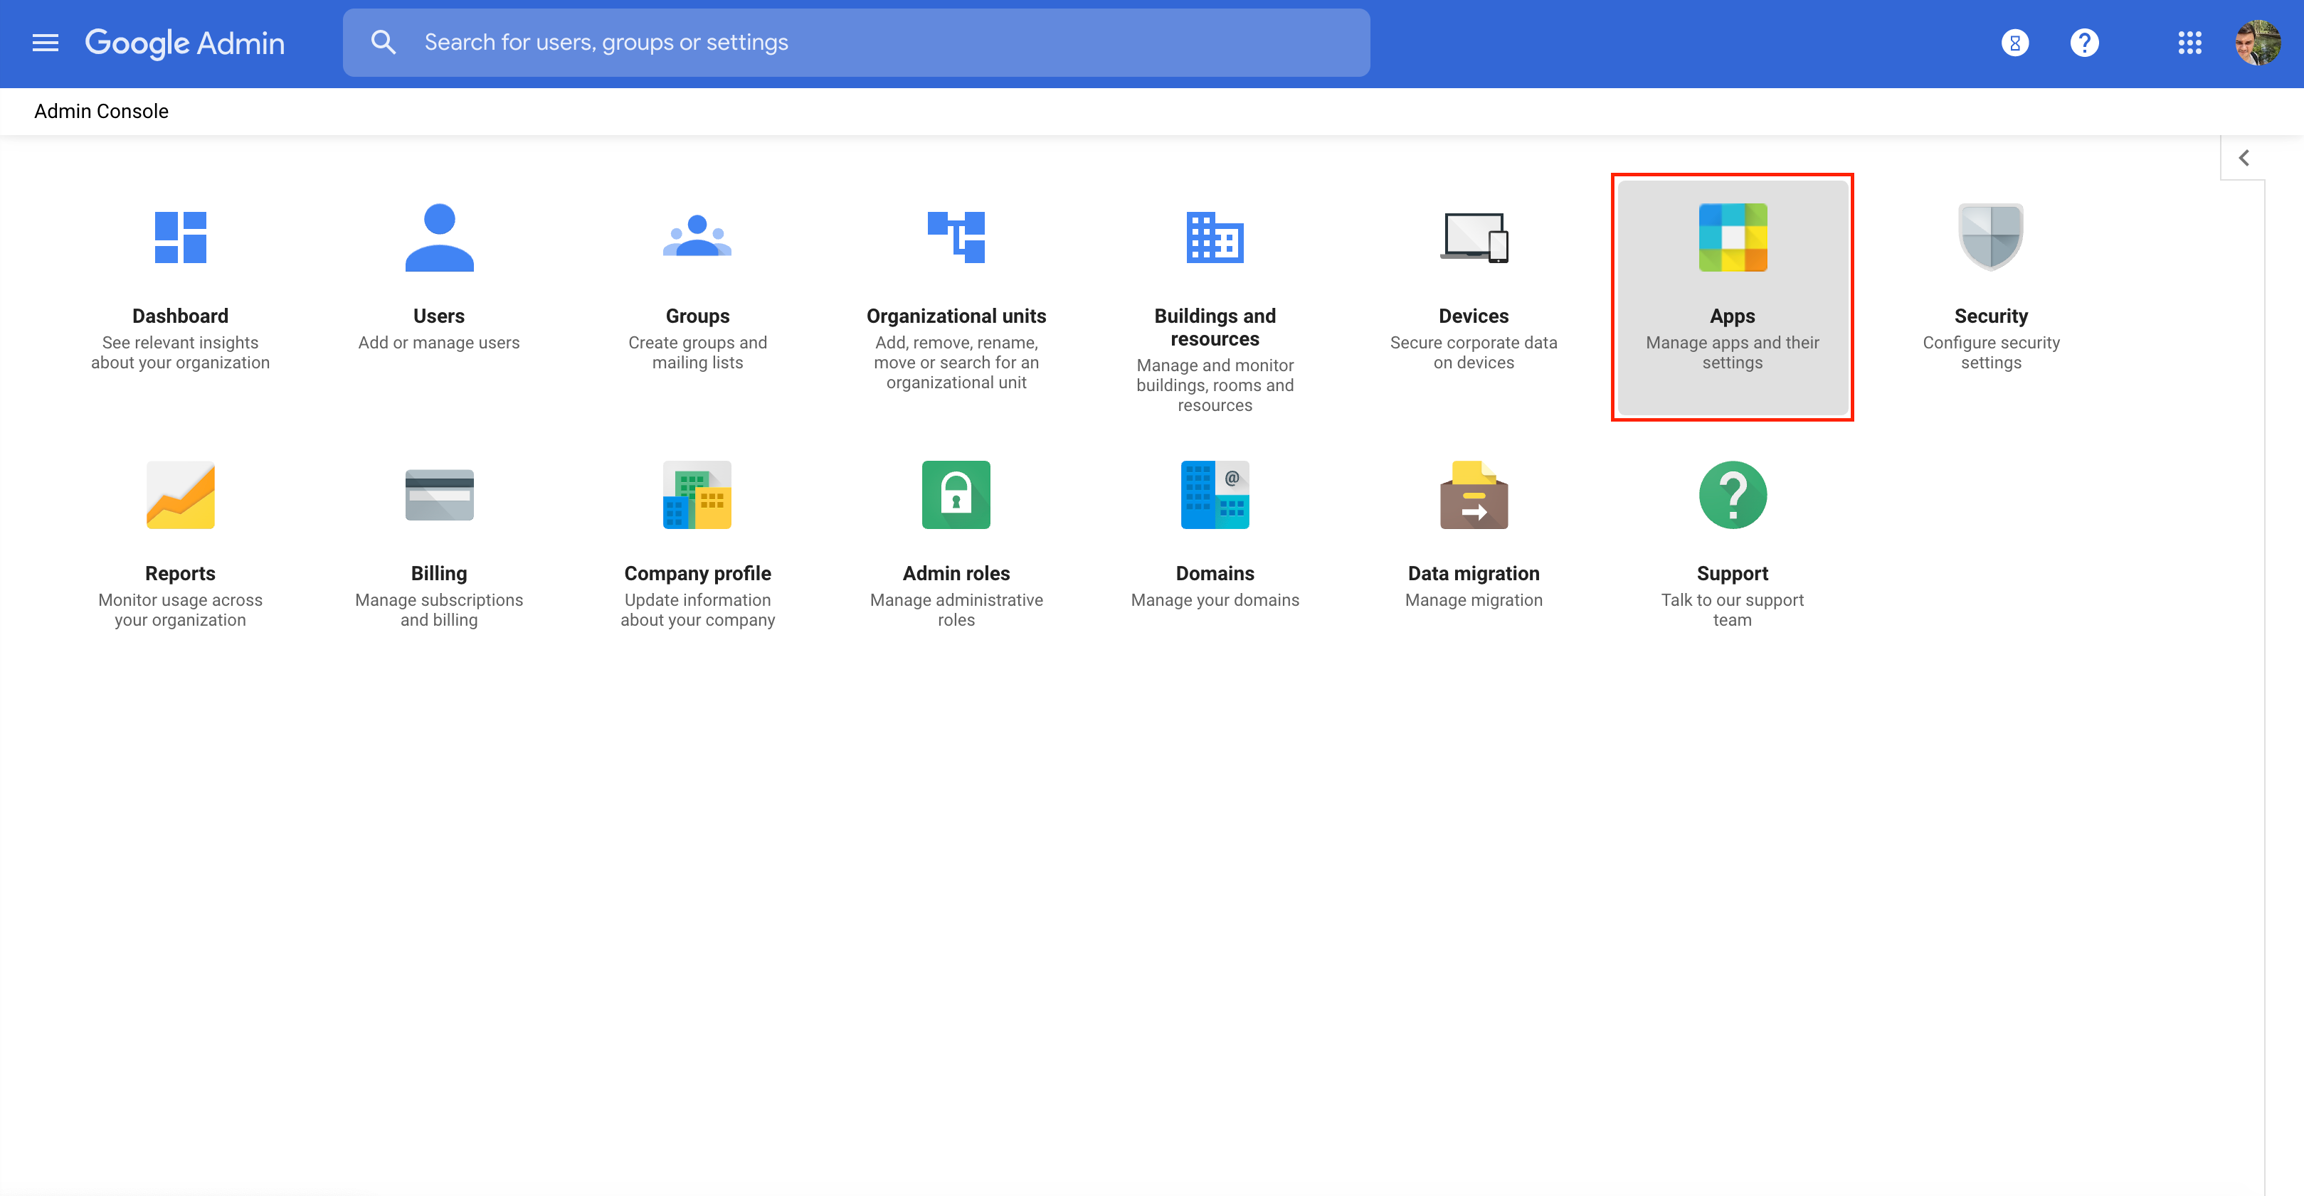
2. Click through the "Apps - Manage apps and their settings" icon:
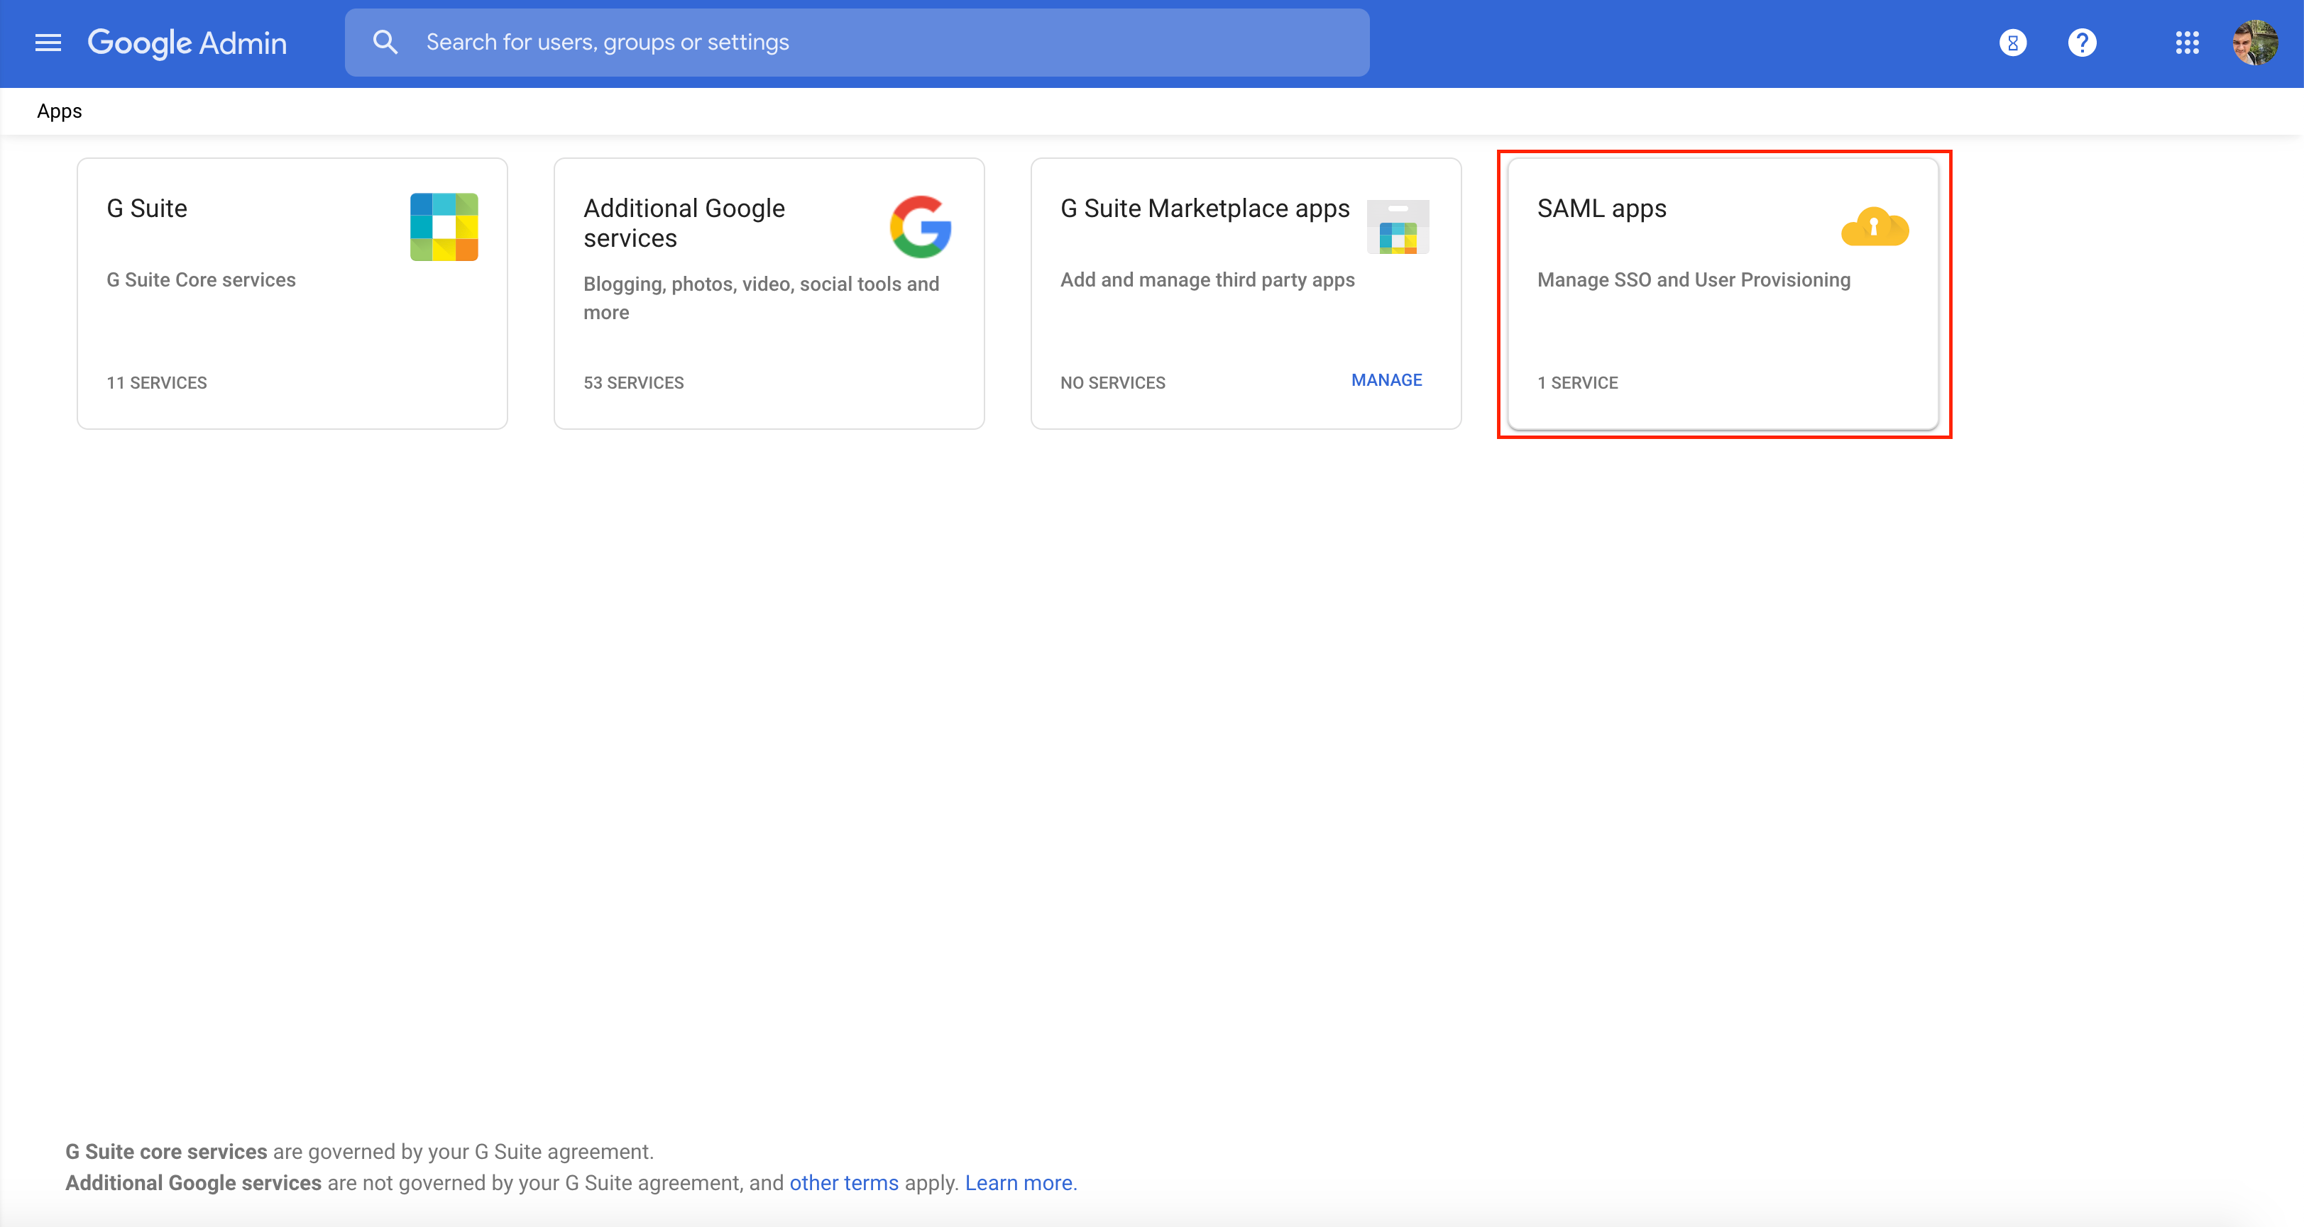
3. Click on "SAML Apps":
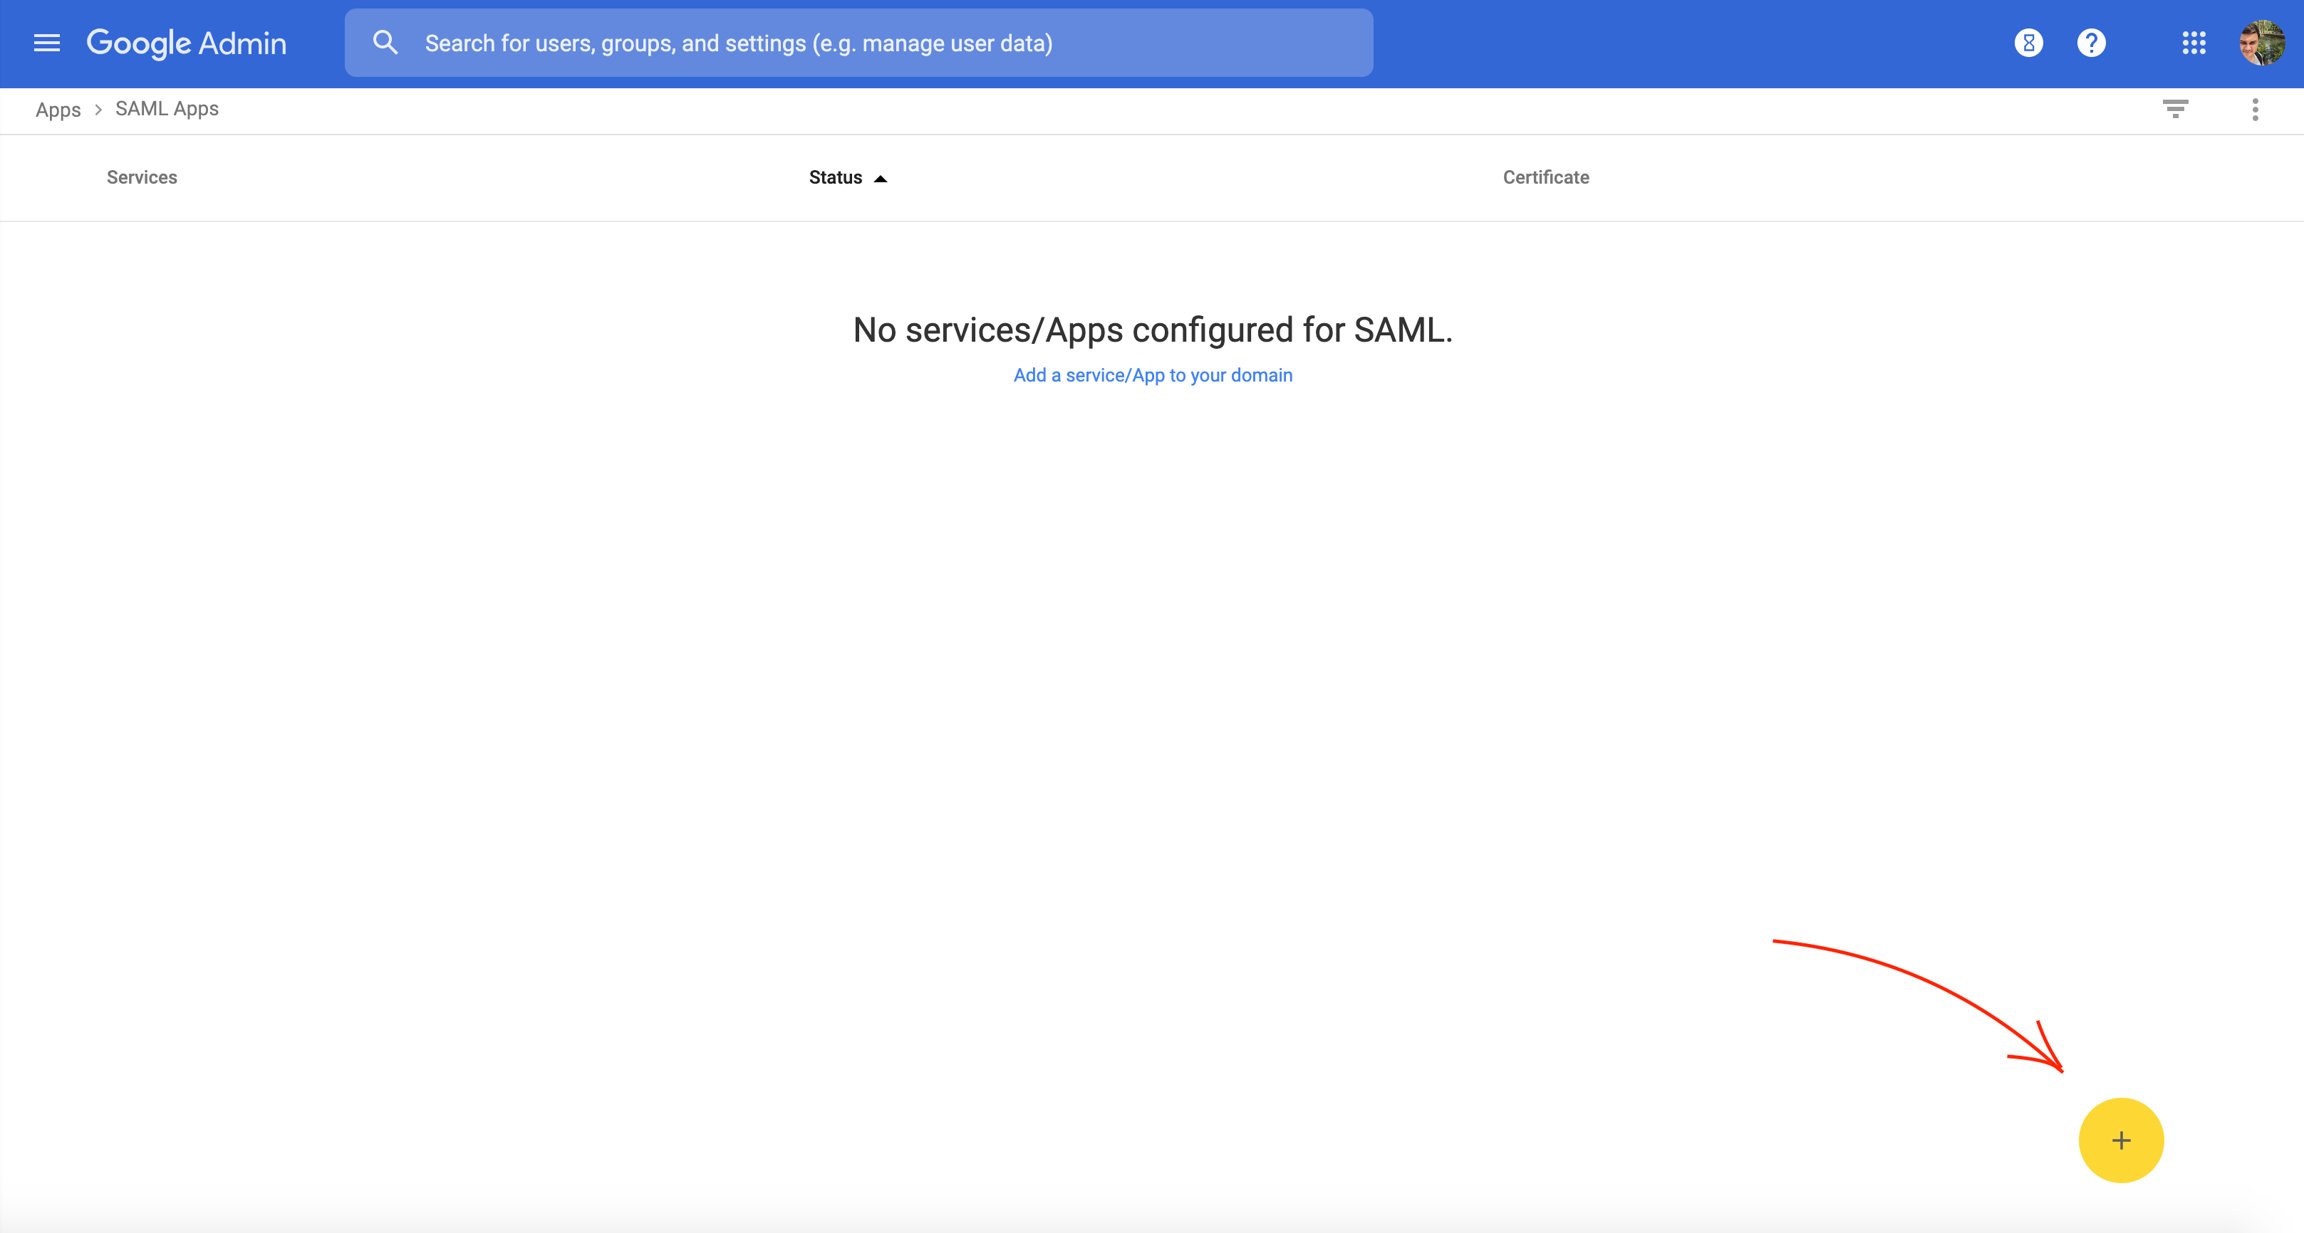
4. Click on the yellow plus button on the bottom right to add a new app:
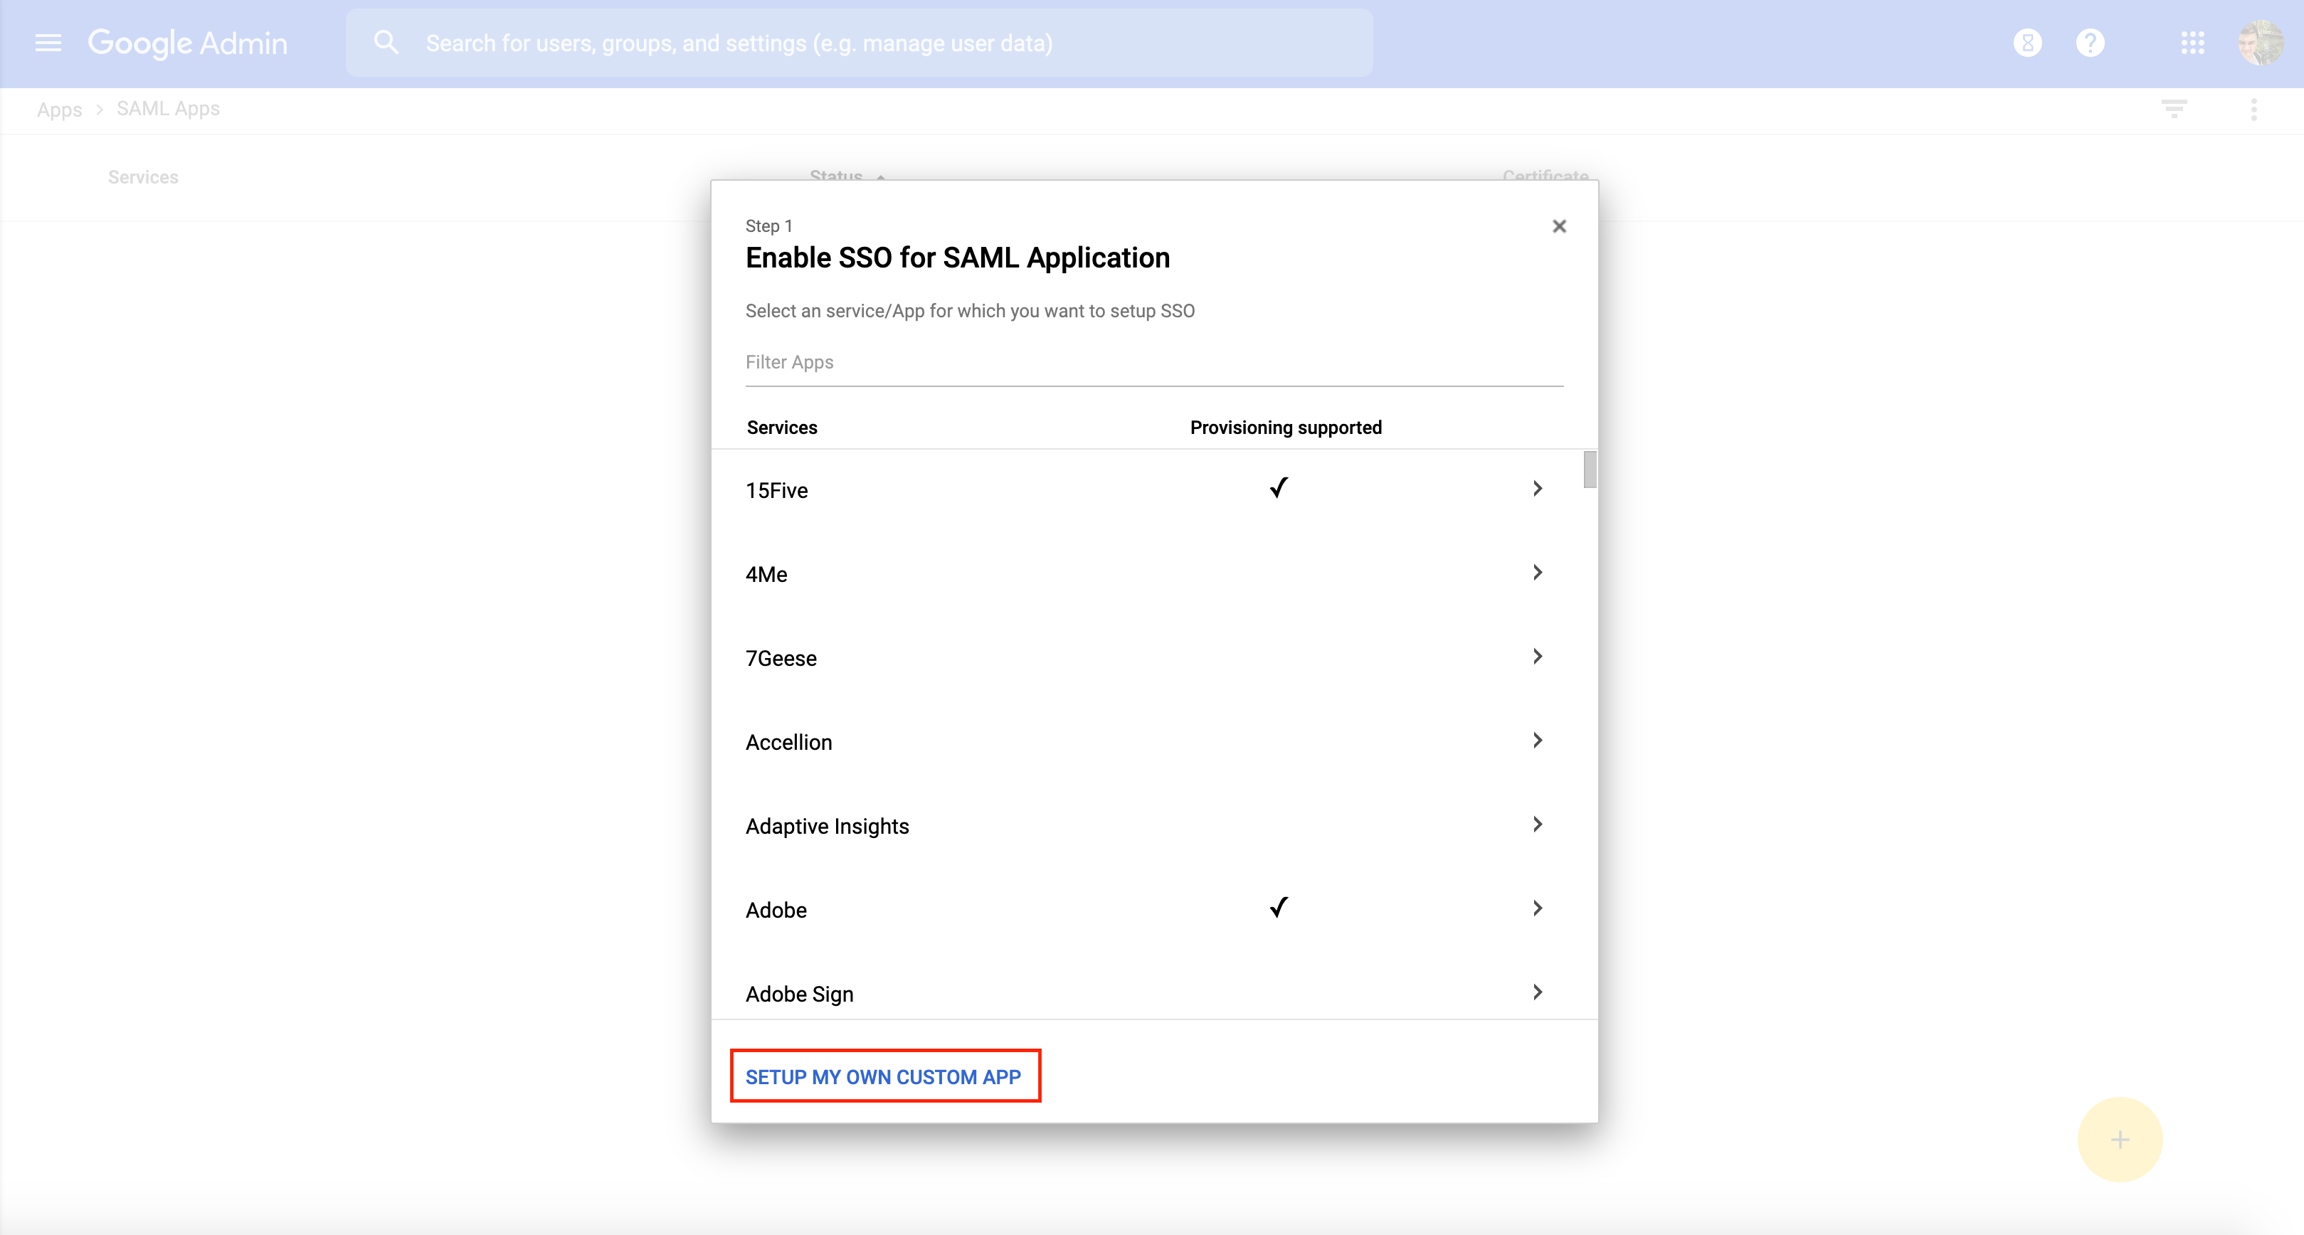
5. In "Step 1", click on "Setup my own custom app" on the bottom:
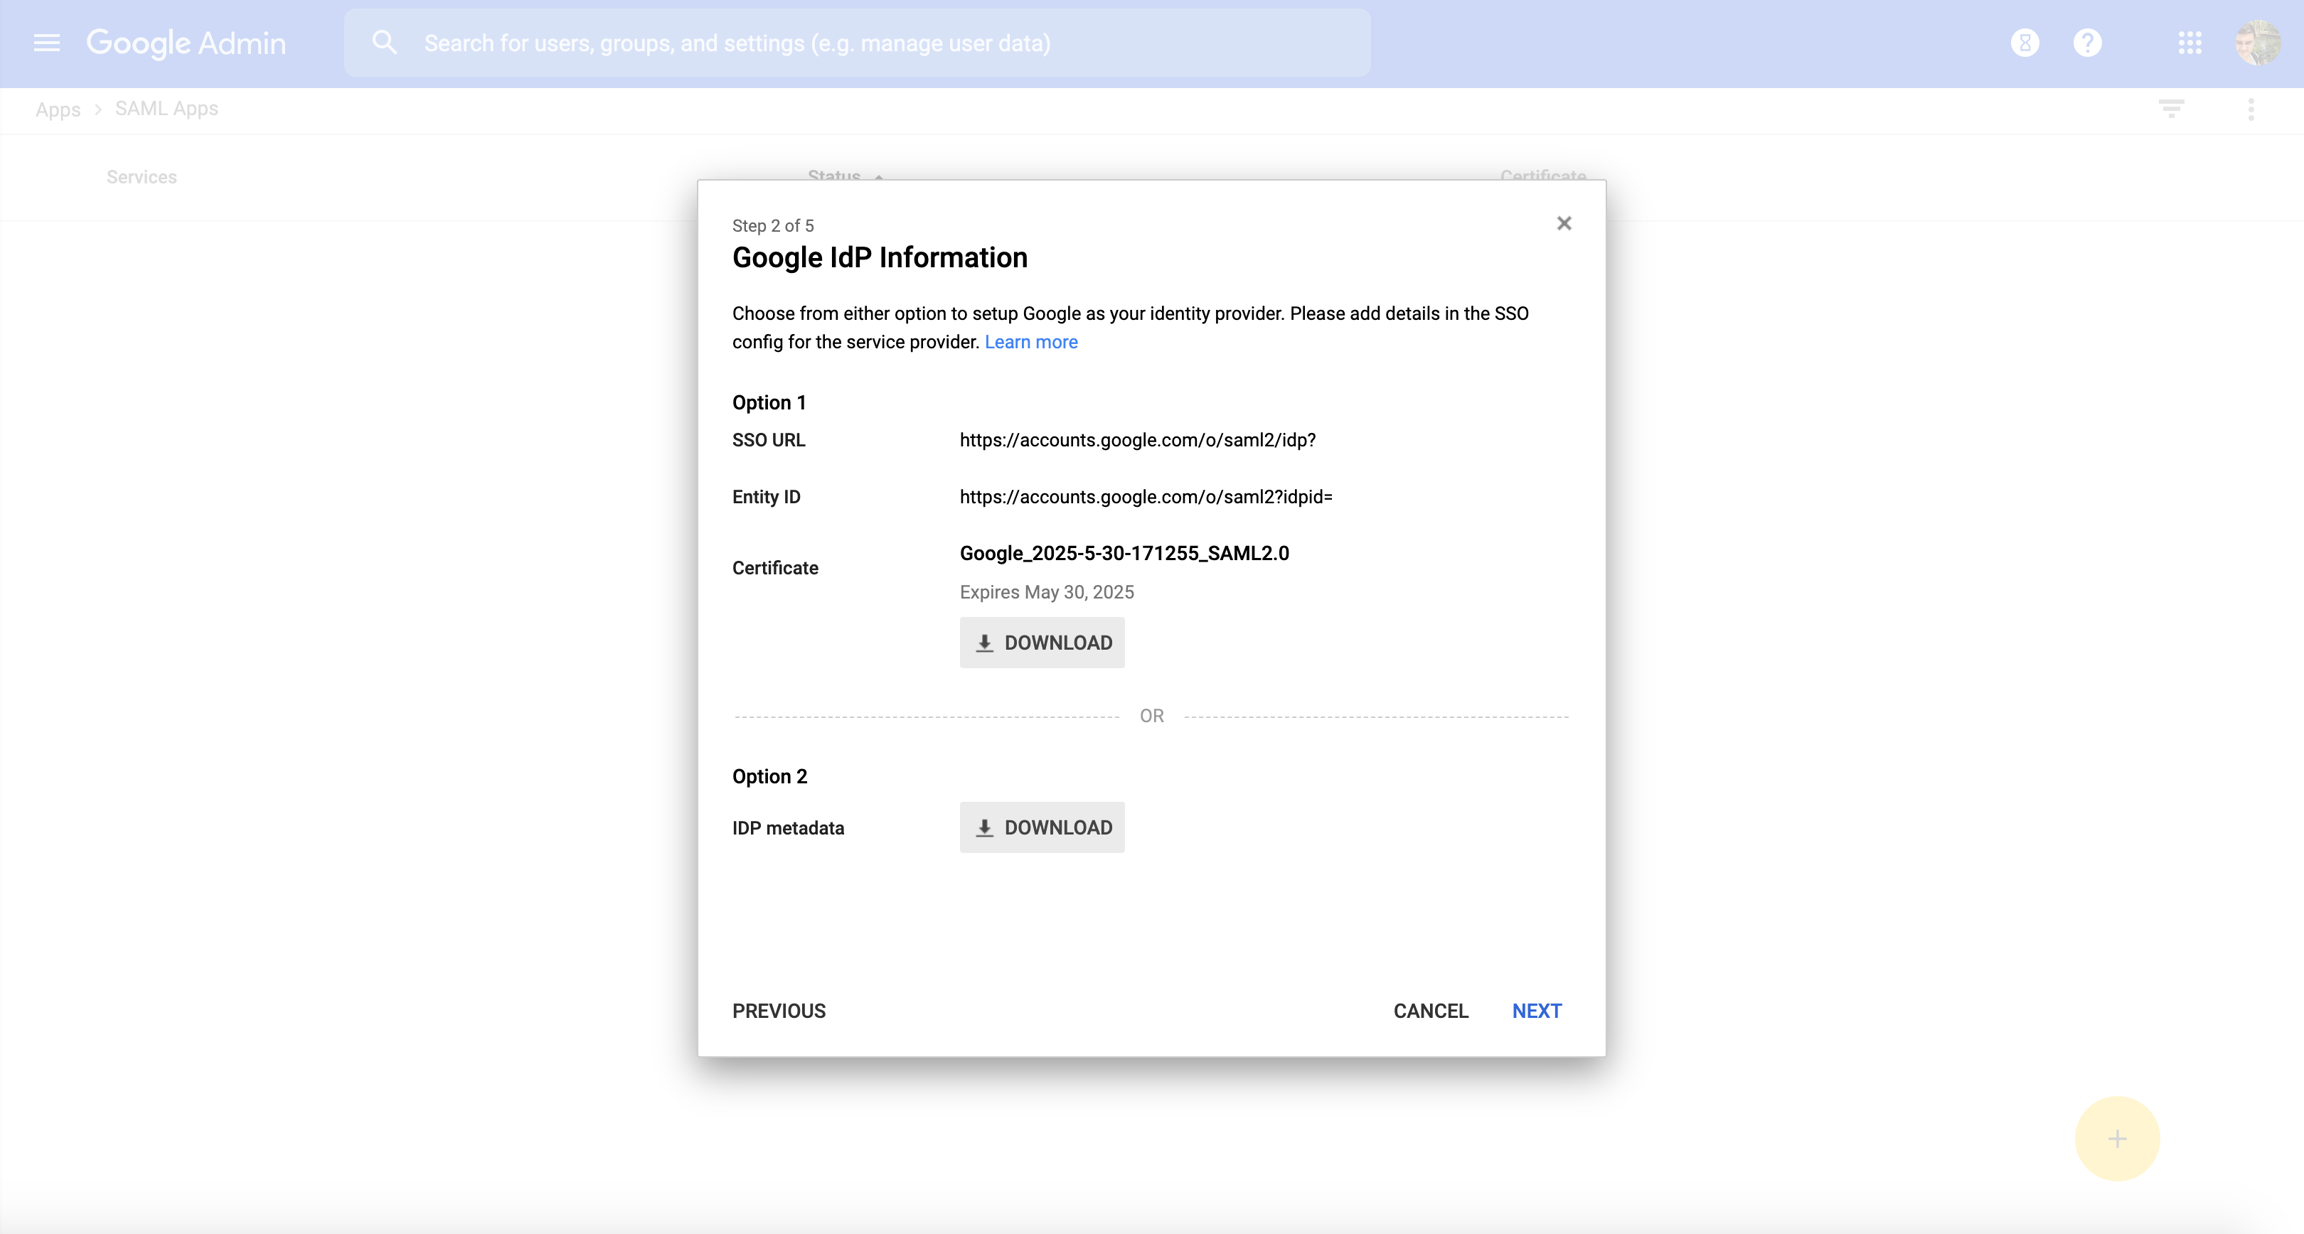
6. Copy the "SSO URL", "Entity ID" and download the "Certificate". We will use them in the next steps. Click on the "Next button".
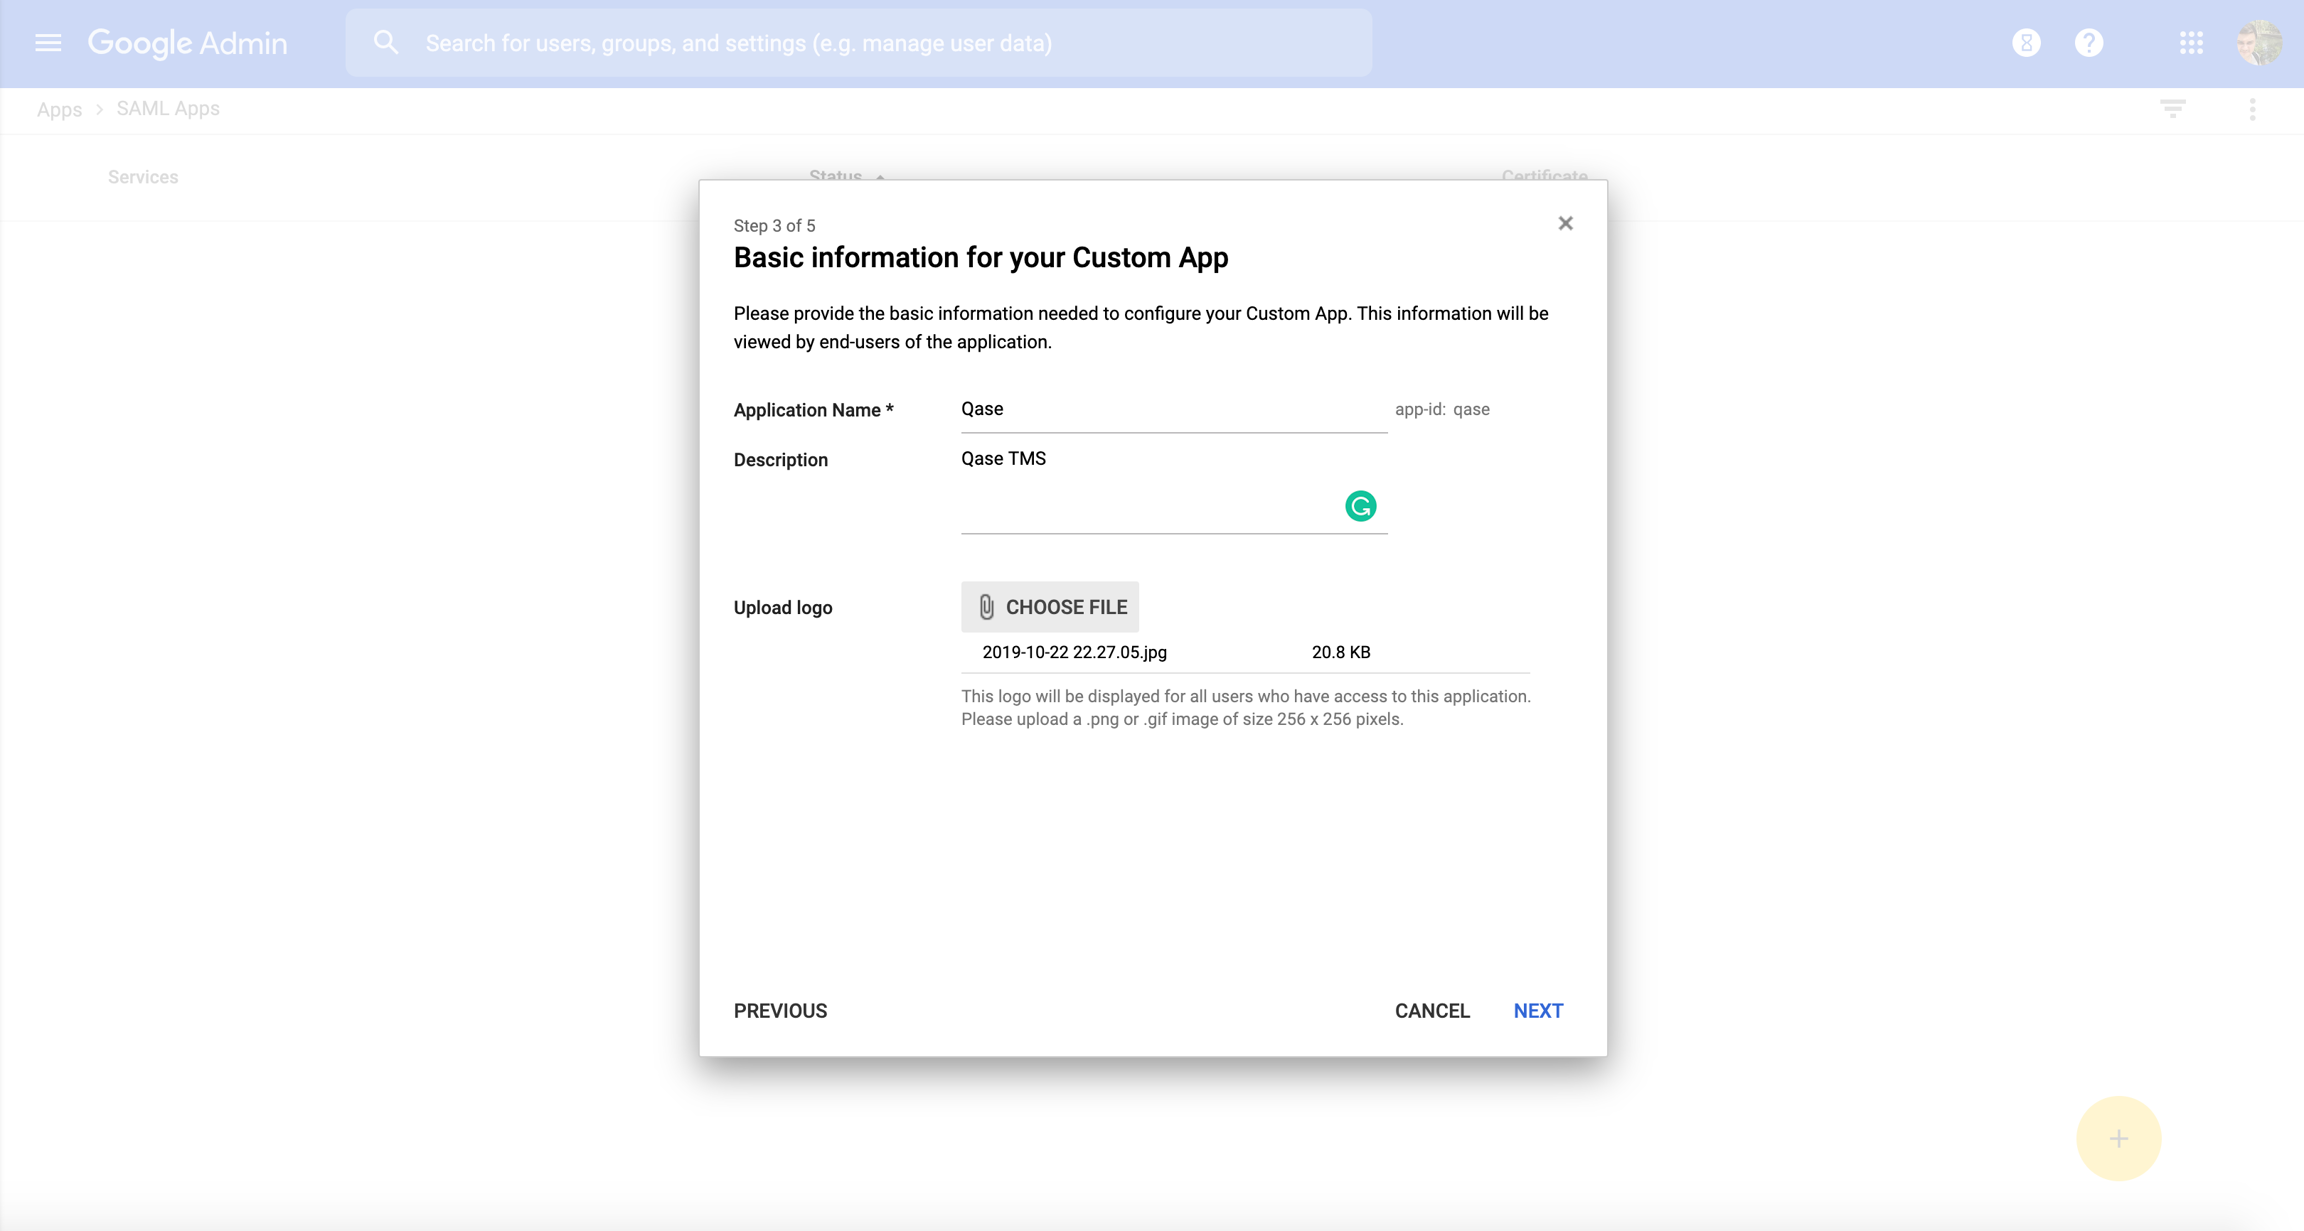
7. Fill the form with the application name and description. We suggest using "Qase" as the name of the app - it will be easier to find it in the future. Also, you can upload a logo. After the form is complete, click on the "Next" button.
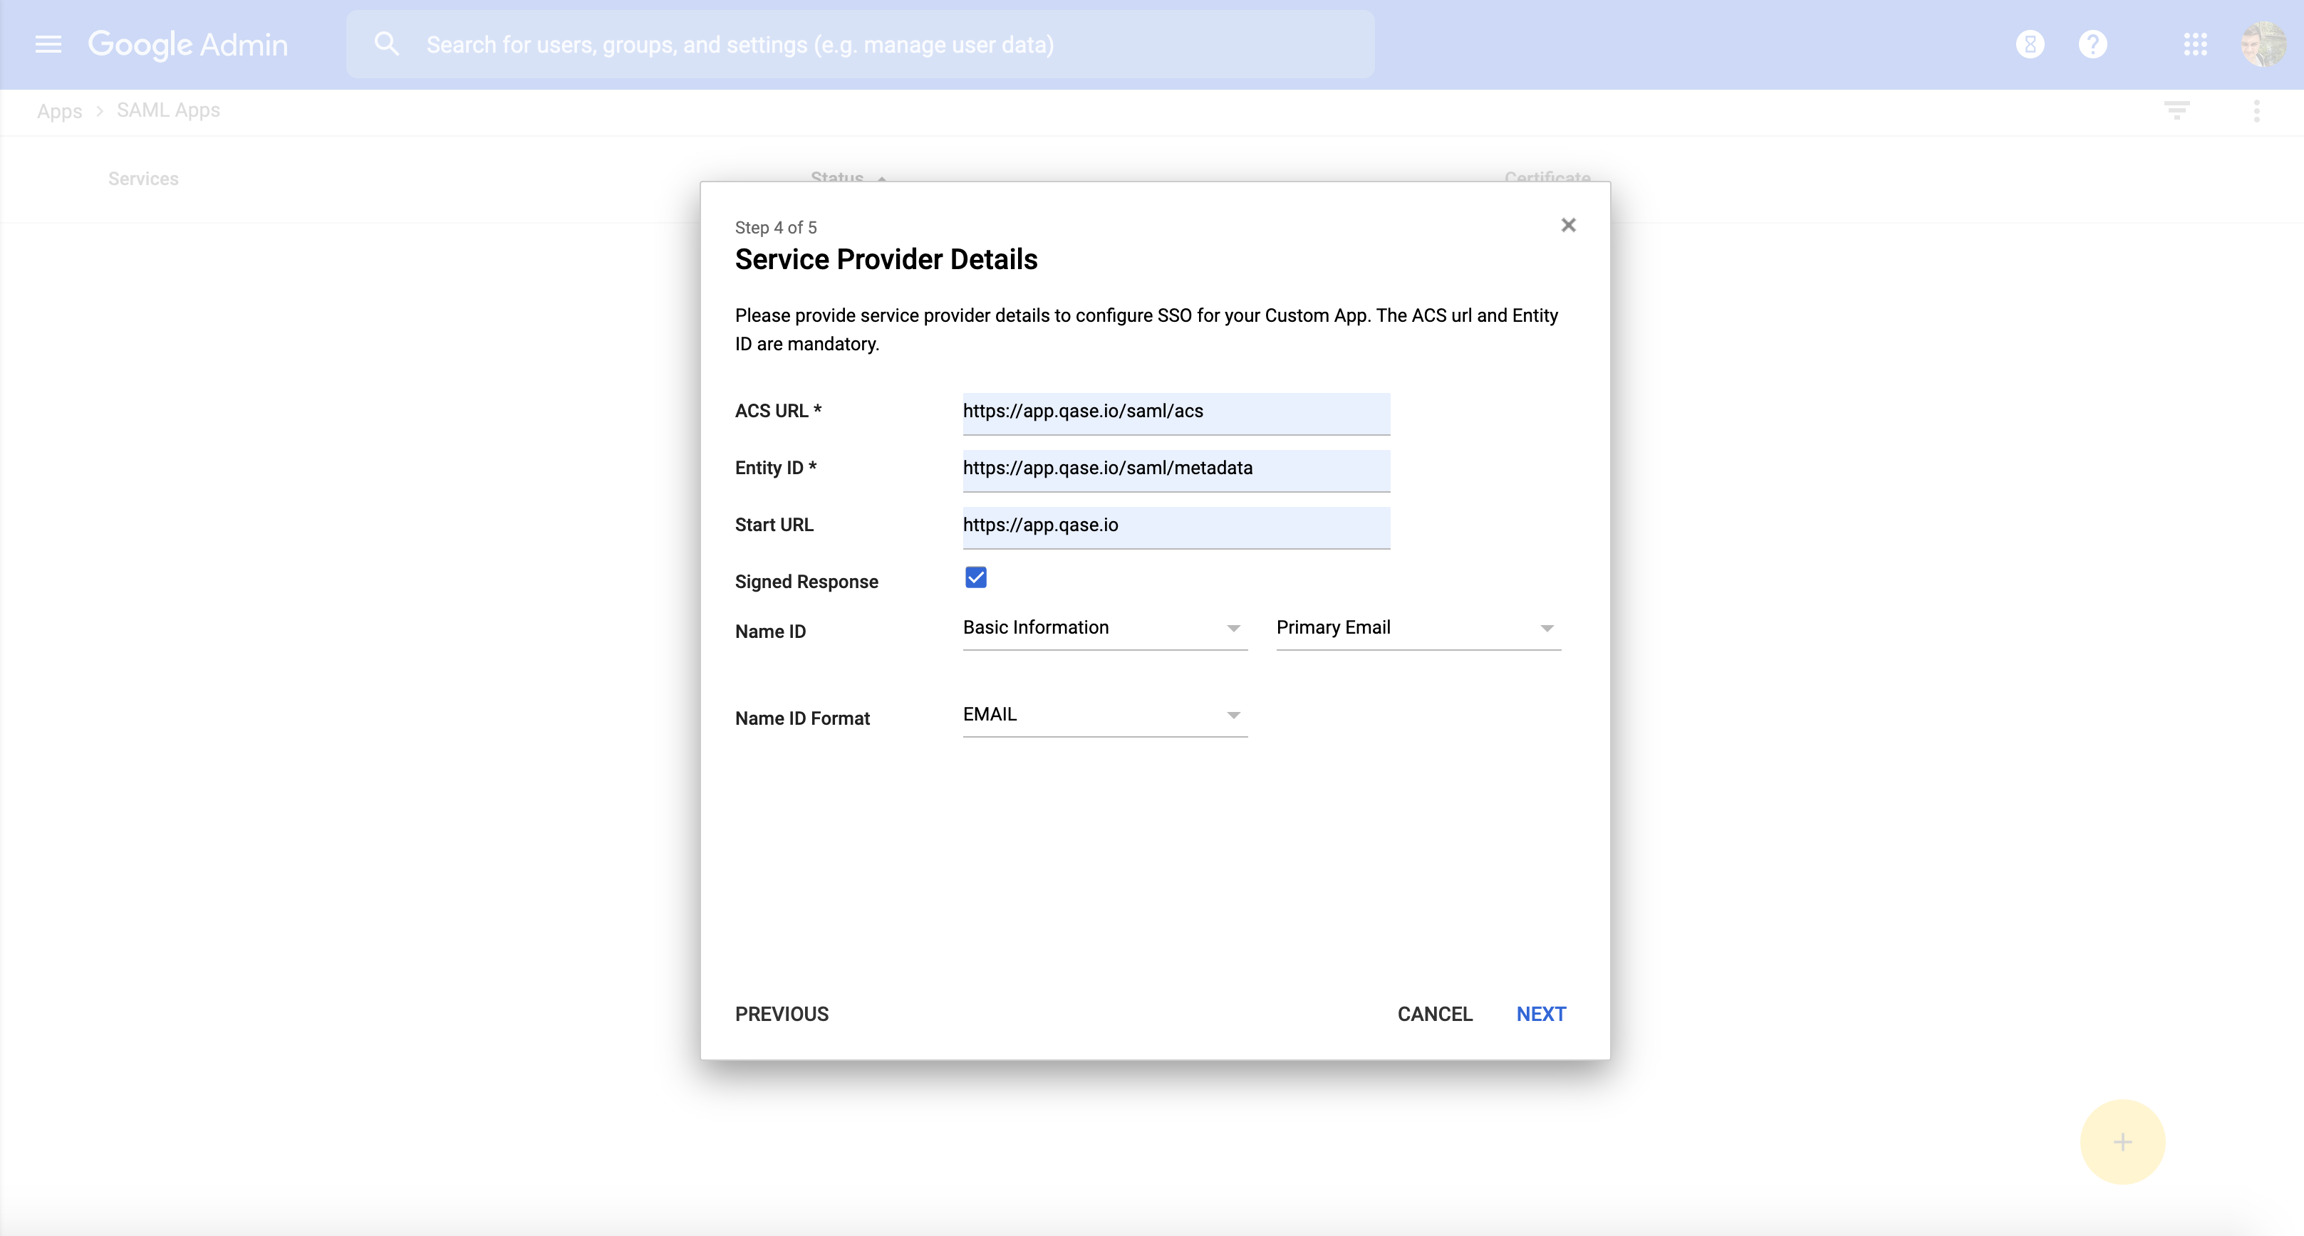
8. On this step, you will need to fill the form with the following details:
ACS URL: https://app.qase.io/saml/acs
Entity ID: https://app.qase.io/saml/metadata
Start URL: https://app.qase.io
Signed Response: Checked
Name ID: Basic Information / Primary Email
Name ID Format: EMAIL
After you fill the form with necessary data, click on the "Next" button.
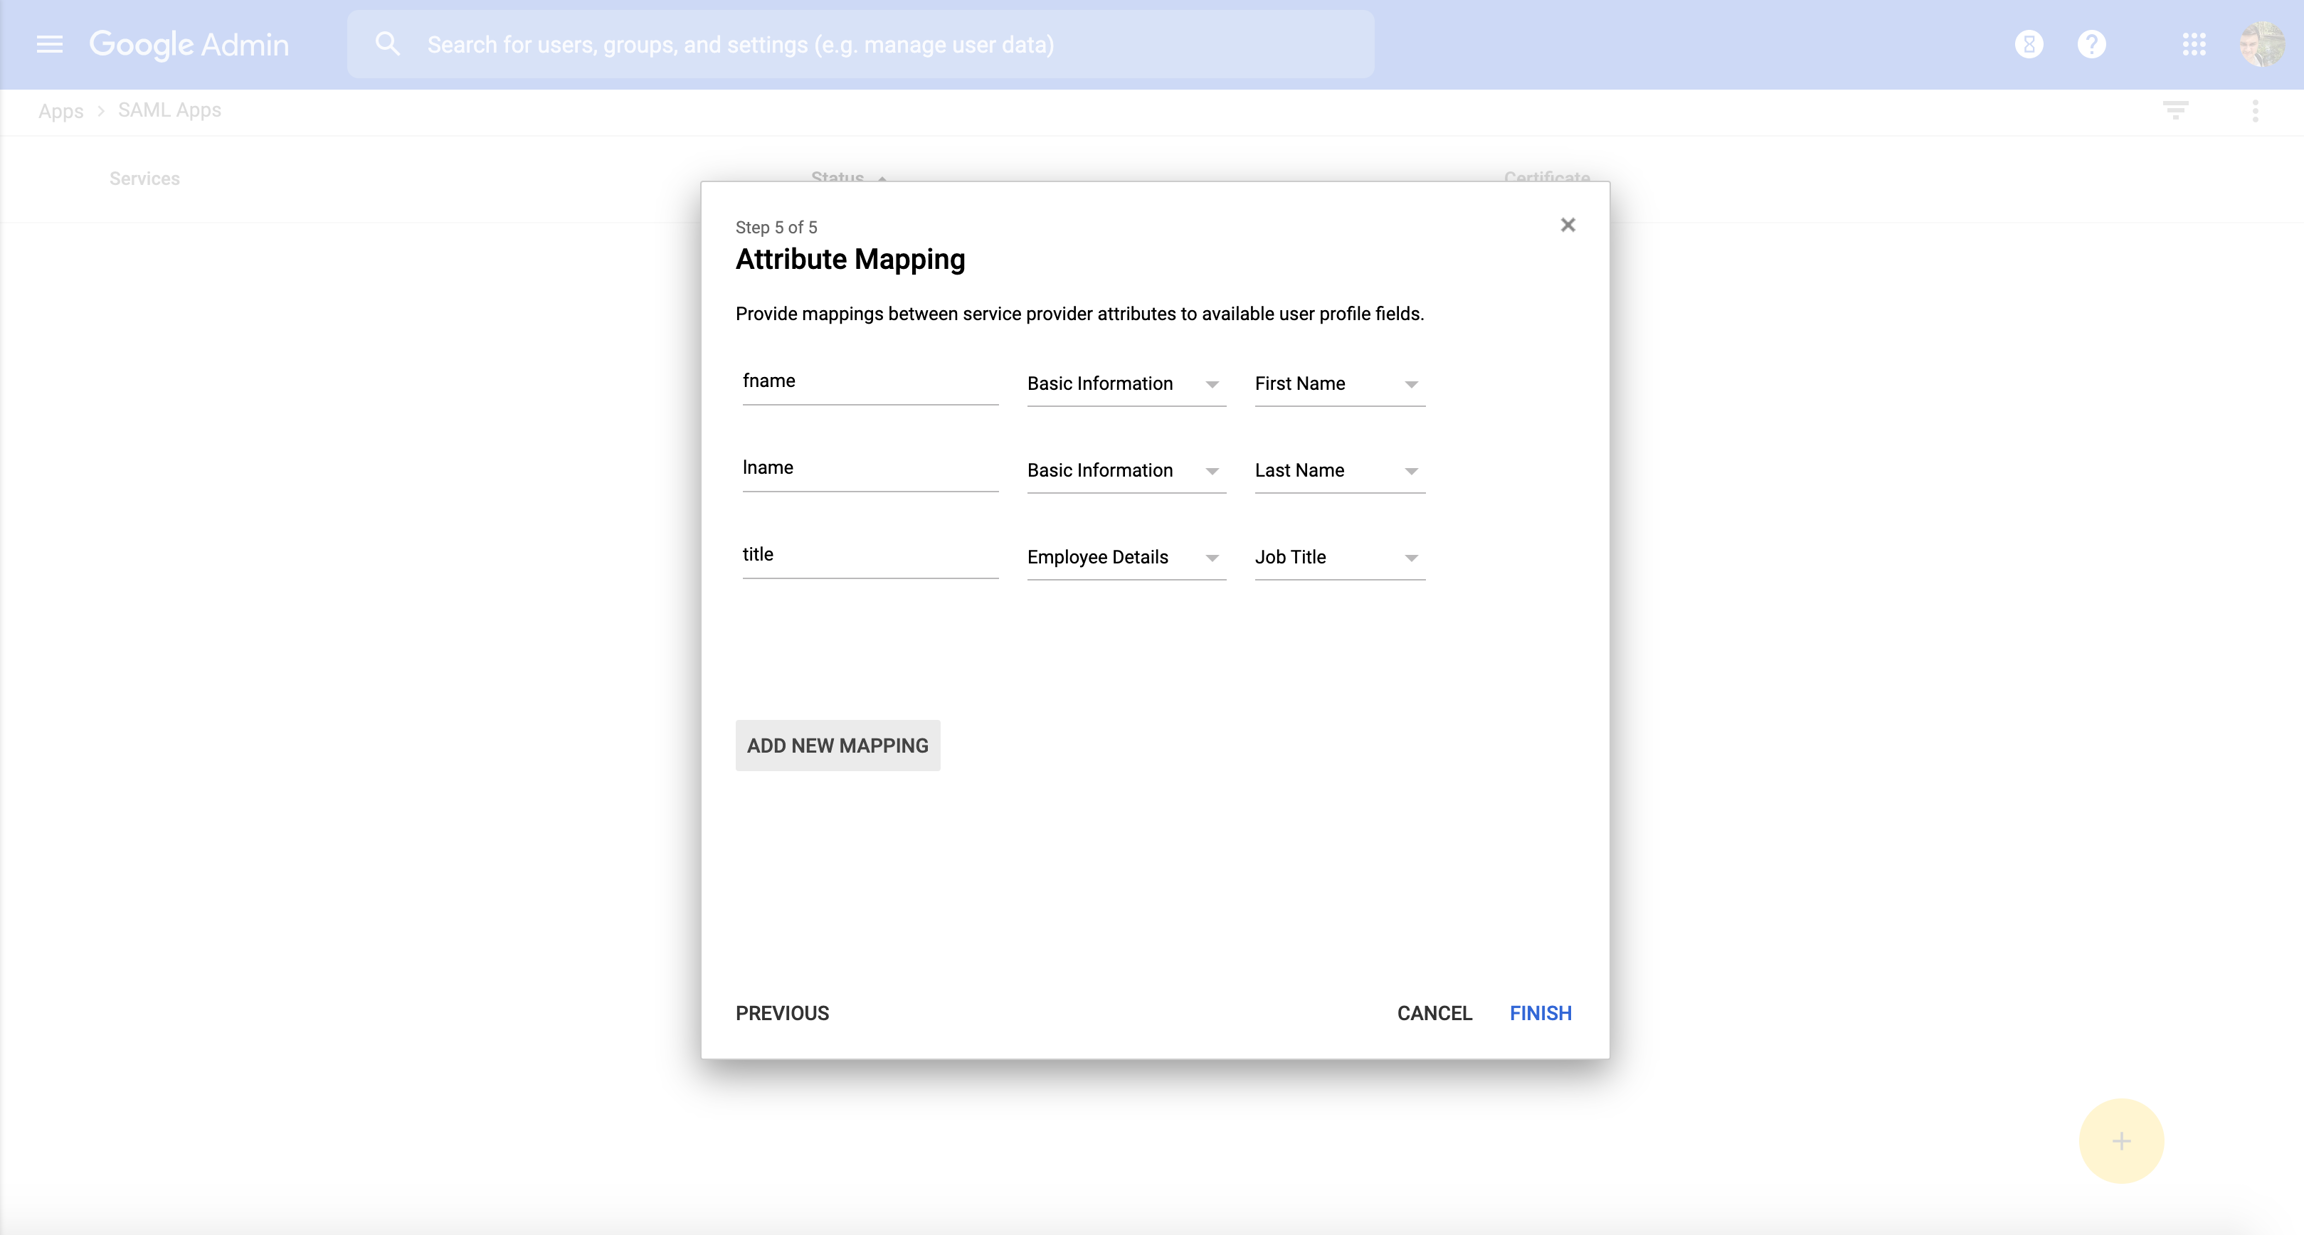
9. If you want to save the user's first name, last name, and job title in Qase, you need to add attribute mapping fields. That can be done by clicking on the "Add new mapping" button and selecting the values like on this screenshot:
10. Google setup is complete. Now you need to go to the Qase security page and link your account with Google's credentials. Click on the "Enable SSO/SAML" toggle button and fill the form:
SAML Sign-in URL: paste SSO URL from step 6.
Identity Provider Issuer: paste EntityID from step 6.
Key x509 Certificate: open downloaded in step 6 certificate in any editor, copy its content, and paste in the textarea.
Domains*: provide a list of domains separated by a comma, that will be used for SSO. Public domains like gmail, hotmail, and etc are not allowed. *This step is mandatory.
Any domains that are added will need to be verified. To do so, you will need to add a TXT record to the domain's DNS records.

Default role: choose a default role that will be granted to the new users.
If you want new users who join your team to become a read-only by default, check "Automatically add new users as read-only members" checkbox.
After the form is filled, click on the "Save" button.
Setup is complete. Now you can logout from the app and log in through the SSO login form.
IdP initiated login is not supported.
Users will have to sign-in from this Qase's SSO Login page: https://app.qase.io/sso/login
Last updated
Was this helpful?